Evaluating Mac Printer Options
Choosing the Right Printer for Mac: A Comprehensive Review
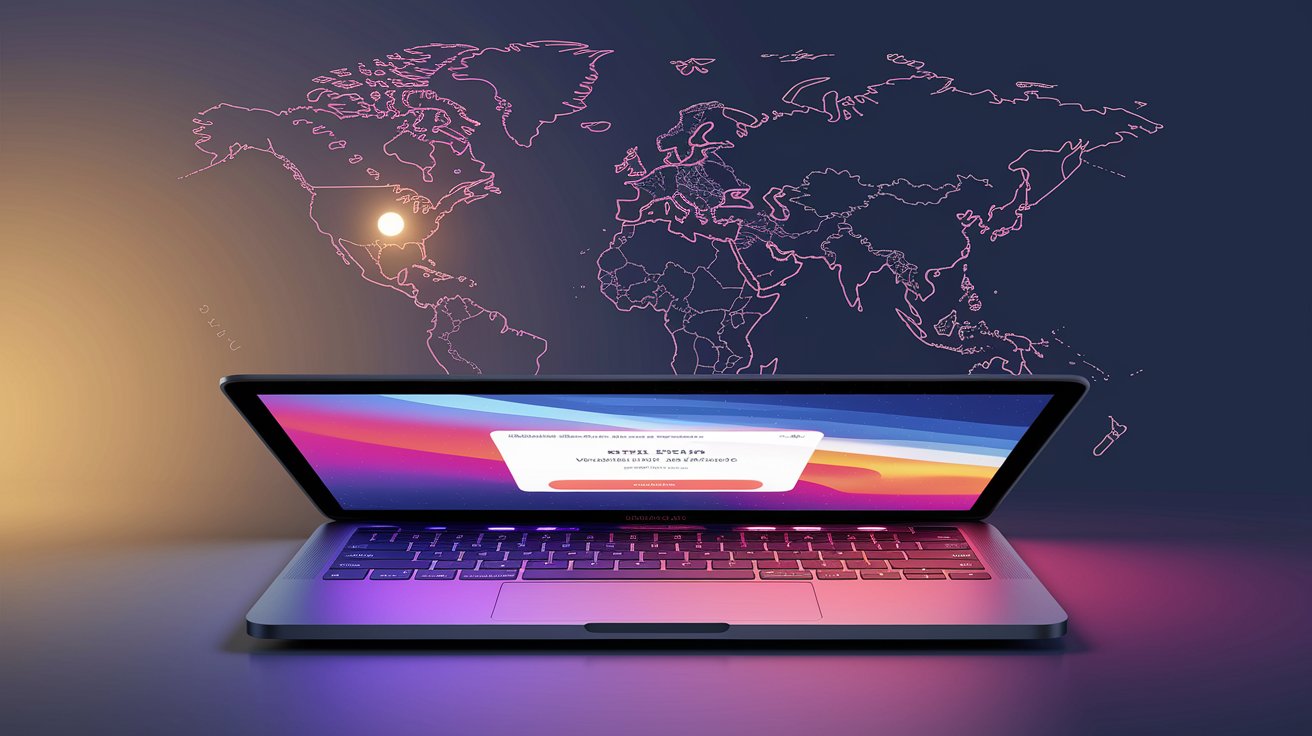
Whether you’re a creative based in Berlin or managing a startup in São Paulo, one challenge remains consistent—getting reliable, high-quality prints from macOS. A printer that doesn’t align with your workflow can delay client projects, waste ink, and increase costs. So before making a purchase, it’s worth examining not just the price tag, but also speed, software compatibility, and long-term expenses.
Quick Glance
This guide answers three main questions:
1) What factors should be evaluated when selecting a printer for Mac?
2) How do inkjet, laser, and multifunction units compare in terms of speed, color quality, and overall cost?
3) Which models are in demand globally—and why?
By the end, you’ll have a clear sense of which printer fits your workflow, no matter where you’re located.
Why Smart Selection Matters
Getting the wrong printer can lead to ongoing headaches. Based on a 2024 report from Keypoint Intelligence, more than 38% of small offices in Europe replaced their printers within the first two years due to maintenance costs being higher than expected. If your primary platform is macOS, the risk increases if you don’t confirm driver support and firmware update schedules. Once support stops, print delays may arise—or worse, features like AirPrint may no longer function.
Some printers appear budget-friendly at first but come with hidden issues—poor compatibility, outdated drivers, or missing features. If you’re working with time-sensitive deliverables, any delay can quickly escalate into missed opportunities. That’s why assessing not just initial features but also the long-term reliability of updates and ecosystem support is vital.
Key Factors to Evaluate
Print Speed (PPM)
If you’re assembling marketing materials for global use, every minute counts. Home office inkjet printers average around 10–15 ppm for black and white. Laser units typically reach 30–40 ppm, ideal for heavier workloads and larger print batches.
Also consider warm-up time. Some laser printers require 15–30 seconds to initiate printing, which can matter in a high-demand environment. Models with instant-on technology help reduce lag and improve productivity.
Clarity and Color Saturation
Speed means little to a photographer in Melbourne if colors come out dull. Look for DPI ratings—the standard for sharpness. The Epson EcoTank Pro ET-16680, for instance, offers 4800×1200 DPI, known for consistent tone and gradient output.
When working with branding materials, color fidelity is crucial. Skin tones, logo hues, and gradient transitions must remain consistent. High DPI combined with pigment-based inks ensures the kind of output designers can trust.
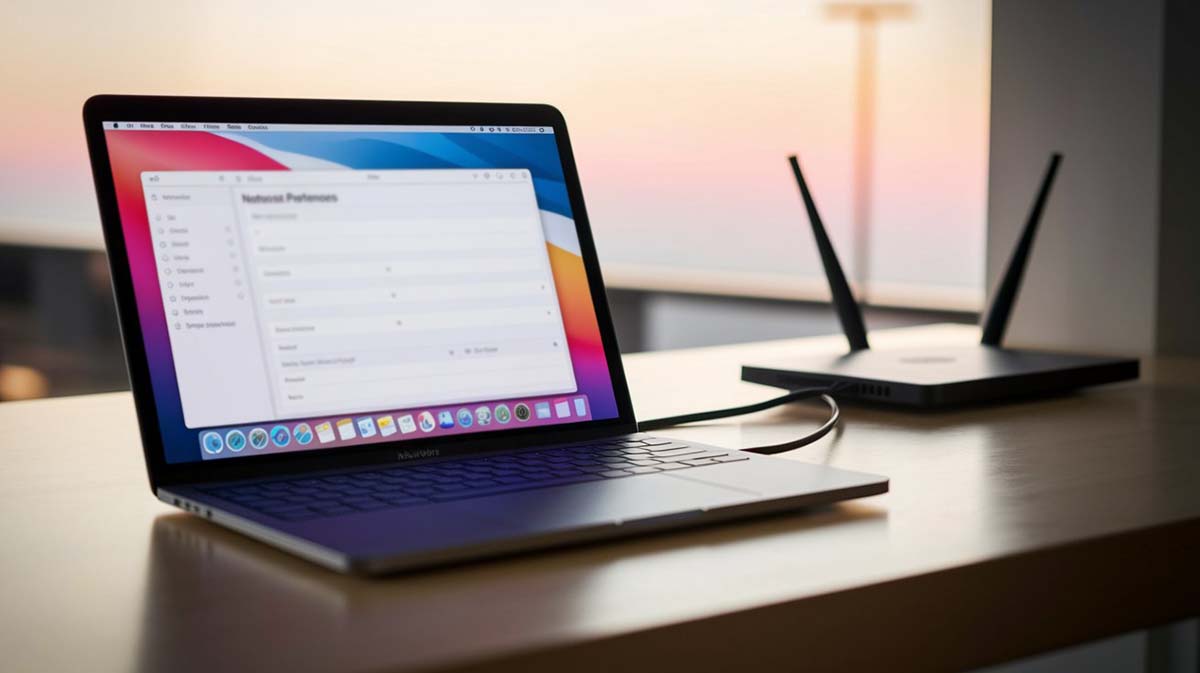
Connectivity Options
Check for USB-C, Wi-Fi 6, and Bluetooth 5.3. As hybrid work becomes more common, your printer should handle tasks from a Mac mini at home or a MacBook Air at a café in Amsterdam with equal ease.
Some printers now support direct cloud access, allowing you to print from Google Drive, Dropbox, or iCloud without needing to transfer files to a local machine first. This flexibility is especially helpful for distributed teams or freelancers constantly moving between devices.
Device Lifespan and Ownership Cost
A low upfront price can be misleading. Include expenses for ink or toner, drum units, and power consumption. IDC reports that up to 65% of a printer’s five-year cost comes from consumables.
Printers with larger ink reservoirs or toner capacities can significantly reduce per-page costs. It’s also helpful to choose models with replaceable components, so you’re not forced to discard the whole unit when one part wears out.
Printer Categories and Their Strengths
- Inkjet Printers – Affordable and good with color, but slower and have higher ink costs per page.
- Laser Printers – Often favored by accounting departments in Zürich for bulk printing due to their fast speeds and low per-page cost.
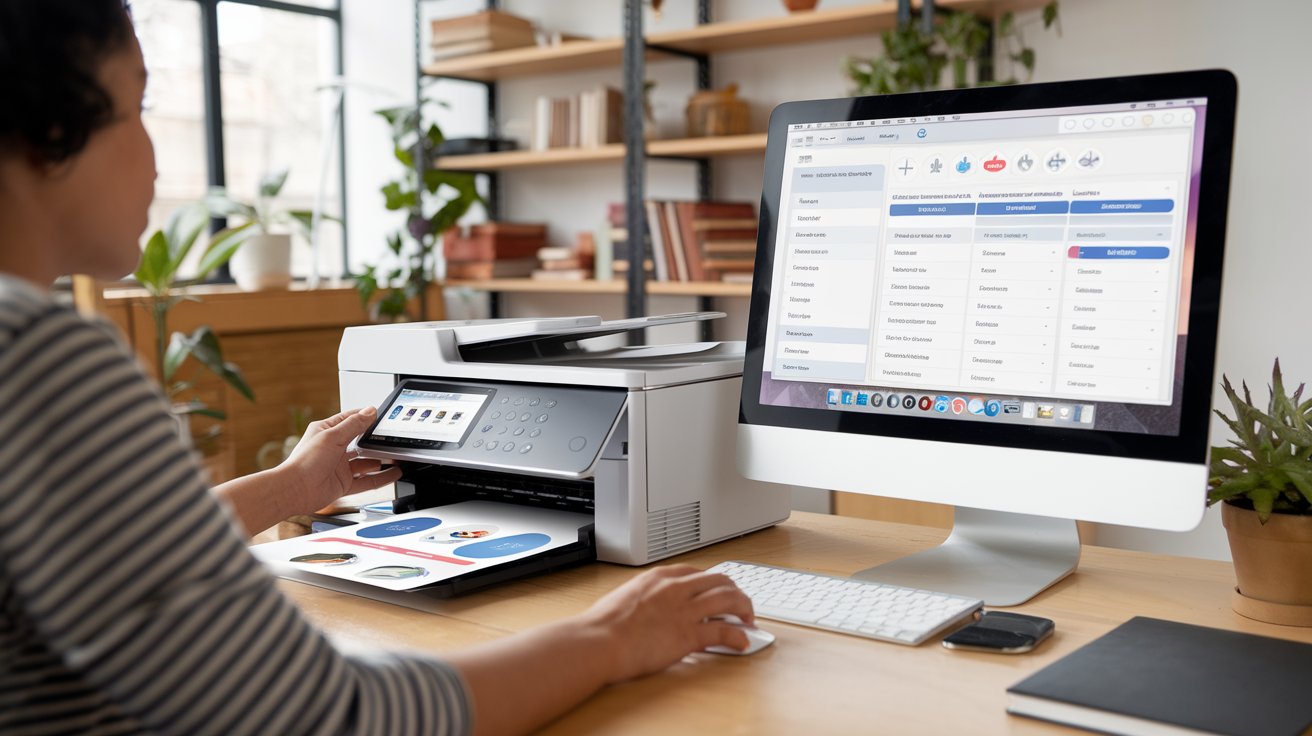
- Multifunction Units – Include a scanner and copier. Perfect for coworking spaces in Toronto with limited desk space.
If you need to send signed documents or scan IDs, the multifunction unit becomes especially useful. It reduces reliance on third-party scanners or phone apps and ensures higher-quality digital captures.
How macOS Communicates with Printers
The latest macOS releases, including Sonoma, offer driverless printing via AirPrint and Mopria. Still, not all printers qualify. Check Apple Support’s compatibility list before you commit. Firmware patches typically arrive during Q1 and Q3—apply them regularly to avoid vulnerabilities.
For office setups, consider using IPP over USB. This helps route print jobs directly to network printers, minimizing job delays and reducing errors. Some enterprise environments even segment printers by VLAN to prioritize traffic for high-volume departments.
Efficiency and Environmental Focus
Sustainability is now a major concern. New laser printers often use low-melting-point toner to lower energy consumption. For example, HP’s LaserJet Enterprise M555dn uses just 0.3 kWh per day in sleep mode, based on Energy Star 8.0 benchmarks.
Ink options also matter. Refillable tank systems reduce waste and lower the need for constant cartridge replacements. While initial costs can be higher, total operating expenses decrease significantly over time. For small businesses or studios printing several hundred pages a month, the savings add up.
Side-by-Side Comparison of Leading Models
HP OfficeJet Pro 9015e
Delivers 22 ppm in color and integrates seamlessly with the HP Smart app. In a 2024 PCMag survey, it earned 9.2/10 for reliability with macOS. Features include auto-duplex printing, remote mobile print support, and strong wireless stability. Ideal for teams with moderate print volume and color demands.
Canon imageCLASS MF645Cx
A laser-based model that excels in speed and efficiency. Its built-in AirPrint and Secure Print PIN features make it well-suited for health-tech startups handling confidential data. With a 250-sheet paper tray and multi-format output capability, it suits diverse workflows and mid-sized teams.
Brother HL-L2370DW
Though monochrome only, it handles daily document printing well. Equipped with Wi-Fi Direct, it allows MacBooks to print without a router. It received Buyers Lab’s “Winter Pick” in 2025 for small office use. It’s also remarkably quiet for a laser printer, making it ideal for shared workspaces.
Epson EcoTank ET-3850
This refillable tank printer produces up to 15,000 pages before needing a refill. A smart pick for design studios in Copenhagen that print multiple proof copies. It supports Apple Silicon Macs without driver installation and includes a flatbed scanner with 1200 DPI resolution—useful for design drafts.
Setup and Maintenance Tips
Before unboxing your new unit, make sure macOS is fully updated. The latest patch addresses USB over IP issues that affected some Big Sur and Monterey versions. If you’re using a laser printer, run a calibration cycle every three months. Inkjet users should avoid letting ink levels fall below 20% to prevent air bubbles that cause banding.
For distributed teams, a cloud print queue like PaperCut Mobility simplifies things. It eliminates the need for driver installs and tracks page counts per user—useful for cost-sharing across coworking locations from Nairobi to Toronto. This also enhances audit control and streamlines device management.
Staying Ready for What’s Next
The shift toward edge printing via ARM-based platforms is gaining pace. This might soon allow printers to act as USB-C hosts for iPhones. When thinking about future needs, consider models that can support upcoming protocols such as Wi-Fi 7 and the Matter standard.
Some units are already being developed with modular slots for connectivity add-ons. Selecting printers with such expandable architecture ensures that you won’t need to replace them entirely once new standards emerge.
Final Notes Before You Decide
Buying a printer isn’t just adding another piece of equipment to your workspace. It becomes a long-term partner in producing contracts, artboards, or school papers. If you take time to assess the types of documents you print, your required speed, and projected costs, the right model will match your rhythm.
Before clicking “buy” or heading to a store, revisit these factors and align them with your daily needs—whether you’re using a Mac Studio at a corporate desk or a MacBook Air across shifting time zones. That way, you’re not just printing sheets, but creating results you can be proud of.