Setting Up Logic Pro for Music Production on Mac
Music production has become more accessible thanks to digital audio workstations like Logic Pro. When the software, hardware, and preferences are configured properly, it becomes easier to record clean audio, capture great ideas, and mix tracks ready for global release. This guide supports beginners and experienced producers in building a studio setup on Mac that’s efficient and easy to use.
Preparing Your Mac Before Installation
Before downloading Logic Pro, check if your Mac can handle the workload. If you plan to record multiple live instruments or use CPU-intensive plugins, it’s best to have at least 16 GB of RAM and a spacious SSD. Newer Apple Silicon chips operate quietly and stay cool during long sessions, which is ideal for extended mixing.
Once the hardware is ready, update your macOS to the latest version. Besides improving security, it ensures plugin and driver compatibility. Clear out old apps and cache files using the built-in Storage Management tool to avoid errors like “Disk Too Slow” during recording.
Installing and Launching Logic Pro
Logic Pro is available exclusively from the Mac App Store. Once purchased, download the core app. On your first launch, you’ll be prompted to install extra content such as Drum Kits, Orchestral Strings, and Apple Loops. If you’re on a limited internet connection, only select the sound packs you need immediately and download others later.
Check your settings under Logic Pro > Settings > Audio. Set the I/O Buffer Size to 32 or 64 samples when recording, and increase it to 256 or 512 when mixing. This helps provide more headroom for effects processing.
Selecting the Right Audio Interface and Gear
Instruments like guitars and microphones need reliable converters to get their sound into your software. Here are four essential tools typically used in home studios:
Audio Interface – Choose one with 24-bit converters, stable macOS drivers, and enough inputs for your sessions.
MIDI Controller – A keyboard or pad controller allows faster note input compared to clicking on a piano roll.
Studio Headphones – Closed-back for tracking, open-back for critical listening. Aim for a neutral sound to avoid misleading tones.
Monitor Speakers – If your room is treated acoustically, powered monitors provide more accurate playback than regular consumer speakers.
Connect your audio interface via USB-C or Thunderbolt. Before recording, open macOS’s Audio-MIDI Setup and confirm your system recognizes the device and the sample rate is set to either 44.1 kHz or 48 kHz.
Adjusting Logic Pro Preferences for Smooth Recording
Logic Pro has many settings. To keep it manageable, start with these five key adjustments:
1. Project Sample Rate
Go to File > Project Settings > Audio. For audio-focused work, keep it at 44.1 kHz. For music intended for video, use 48 kHz. Higher rates like 96 kHz demand more storage and CPU, so only use them when absolutely needed.
2. I/O Assignments
In Settings > Audio > I/O Assignments, label each input clearly—like “Vocal Mic” or “Guitar DI”—to avoid mix-ups during tracking.
3. Input Monitoring
Enable Low-Latency Mode during live sessions to temporarily disable unnecessary plugins. This helps reduce delay, which can affect a performer’s timing.
4. Metronome Options
In Studio > Metronome, select a click sound that’s more musical. Some producers prefer hi-hat style clicks to avoid disrupting vocal recordings.
5. Auto Save and Backups
While Logic Pro autosaves, it’s smart to set manual backups during major project changes. Use Time Machine or a cloud platform like iCloud Drive or Dropbox to avoid losing progress due to file errors.
Creating a Custom Template for Faster Workflow
Save time by setting up a project template. Add commonly used software instrument tracks such as Drum Machine Designer, Retro Synth, and Sampler for bass. Set up reverb and delay buses, then save it as “Default Production Template.”
Next time inspiration strikes, load the template and start recording right away. This method is used by producers across major cities, from London to Tokyo.
Recording Your First Track: Best Practices
Before tracking, silence all Mac notification sounds. When using a condenser mic, adjust the input gain so that the average level stays between −18 dB and −12 dB FS. This helps prevent clipping. Record two or three takes and select the best parts using the Comping feature in Logic Pro.
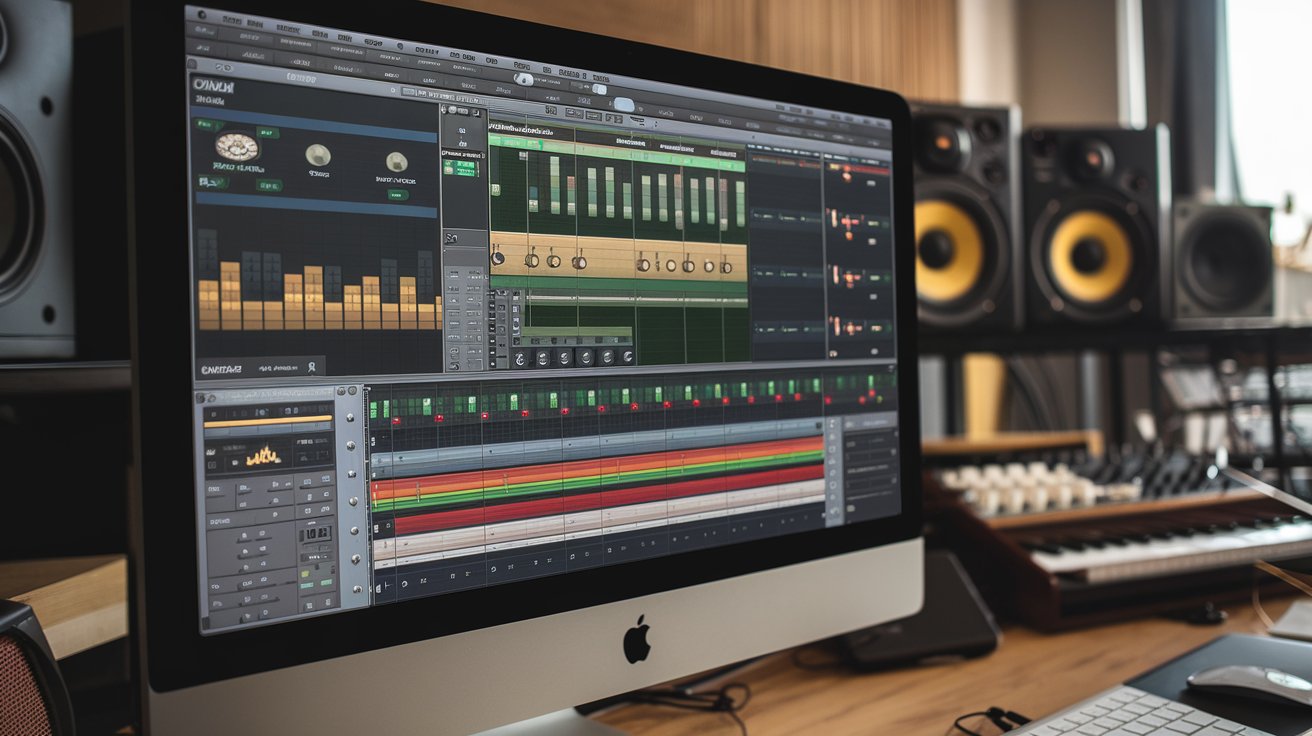
Working With Software Instruments and Plug-ins
Logic Pro includes a broad range of instruments—from Alchemy for EDM to Studio Horns for soulful arrangements. Keep your channel strips organized. If you’re layering multiple synths, group them into a Track Stack to keep the mixer tidy.
With third-party plugins, always check their macOS requirements. Many developers now offer Apple Silicon-compatible installers, which are optimized for lower CPU use.
Mixing Your Session Effectively
Start mixing by adjusting faders with panning at center. Once the volume relationships feel right, use EQ to clean up any muddiness, especially between 200–400 Hz. For compression, Logic’s built-in options work well—select “Studio VCA” for drum tracks.
Use reverb options like Space Designer or Chromaverb to add depth. These are great for everything from orchestral arrangements to ambient music. Avoid jumping into mastering right away. First, export a stereo mix with −6 dB headroom, then hand it off to a mastering engineer or use a dedicated tool for final polish.
Managing Files and Collaborating
As your project grows, organize your files into specific folders:
Audio Files– Raw recordings
Bounce – Mixdowns and versions
Project Files– .logicx sessions and backups
Documentation – Lyrics, notes, and chord charts
When collaborating remotely, zip the entire project and upload it to the cloud. For example, you can send it to a guitarist in São Paulo. When they return overdubs, import the files into the Audio File Browser and drop them into place in the arrangement.
Use Case: Simple Singer-Songwriter Setup
Imagine you’re tracking vocals and acoustic guitar. Your template has two audio tracks and one bus for plate reverb. After recording, apply Channel EQ to remove low rumbles, use gentle compression at a 2:1 ratio to help the vocal stand out, and add light stereo delay to enhance the chorus. Within a few hours, your demo is ready to send to a label representative in Paris.
Saving CPU and Preventing Glitches
Hearing clicks during playback? First, raise the buffer size when mixing. Second, freeze instrument tracks. This turns them into temporary audio files and disables plugins, reducing load. Third, turn off visual meters on unused channels to lighten GPU demand.
Exporting for Global Distribution
Go to Bounce > Project or Section. Choose both PCM and AAC to create a high-quality WAV for mastering and a compressed version for streaming. Double-check song titles, album info, and ISRC codes—mistakes here can cause rejection by distributors.
For stem delivery to a mixing engineer, export each track as a 24-bit WAV from bar 1 to the end. This keeps everything aligned. Compress into a zip file and send using services like WeTransfer.
Preparing for Future System Updates
Don’t upgrade macOS the moment a new version arrives. First, create a bootable clone of your current system. Review compatibility threads in audio communities. Update only during a gap between projects to avoid disruption.
Final Notes
A well-prepared Logic Pro setup on Mac leads to clean recordings and professional mixes. With the hardware, settings, and routine aligned, you can move quickly from idea to final track. Keep experimenting, save regularly, and collaborate with musicians across borders.