Configuring Network Settings on Mac
Setting Up Network Preferences on Mac for a Smoother Connection
These days, most of our work, studies, and entertainment rely on a stable internet connection. Whether you’re attending a virtual meeting, uploading files, or managing remote tasks, your Mac’s network settings can either make things seamless or cause frustrating disruptions. If your connection drops in the middle of a call or slows to a crawl during an important upload, it’s time to take a closer look at your setup.
– Check the current status of your Wi-Fi or Ethernet using macOS settings.
– Secure your connection by prioritizing private or encrypted networks.
– Tweak advanced options like DNS and Proxy for better performance and access.
– Learn simple troubleshooting steps for common connection problems.
– Stay updated with tools that monitor network health and help you make adjustments.
The good news? You don’t need to be a tech wizard to make meaningful improvements. With a few settings adjustments and awareness of the tools already built into macOS, you can enjoy a safer, faster, and more reliable connection.
Why Network Settings Matter More Than You Think
Your Mac is only as strong as the connection it depends on. Having a reliable setup isn’t just about speed. A secure and properly configured network helps prevent data leaks, blocks snoopers, and ensures that your tasks aren’t interrupted by sudden disconnections.
For professionals, this can mean safeguarding sensitive files or maintaining high-quality video streams. For students and content creators, it’s about having fewer interruptions during live sessions or uploads. Wherever you are — from home offices to cafés — your setup needs to be ready for the demands of modern online life.
Check Your Current Network Status
Before you change any settings, take a moment to review how your Mac is currently connected:
- Open System Settings and click Network.
- Identify whether you’re using Wi-Fi or Ethernet.
- If you’re on Wi-Fi, look for the number of signal bars. Low bars could signal weak strength.
- If using Ethernet, check the Link Status to confirm it’s stable.
This step gives you a clear starting point. If you often face dropped calls or buffering during streams, your current setup may be falling short.
Customize Your Wi-Fi for a Better Experience
Stick to Trusted Networks
Connecting to any open Wi-Fi network you come across is risky. These are often unencrypted and easily exploited by attackers. If you travel or work remotely, always look for connections that are password-protected and use strong encryption like WPA3. Better yet, use your mobile hotspot when possible.
Set Your Preferred Networks
You can make your Mac automatically connect to secure and familiar networks by:
- Going to the Network panel.
- Clicking Wi-Fi, then Details beside the active network.
- Dragging your most-used networks to the top of the list.
This is especially helpful if you move between locations regularly — like from your office to your home or a shared space.
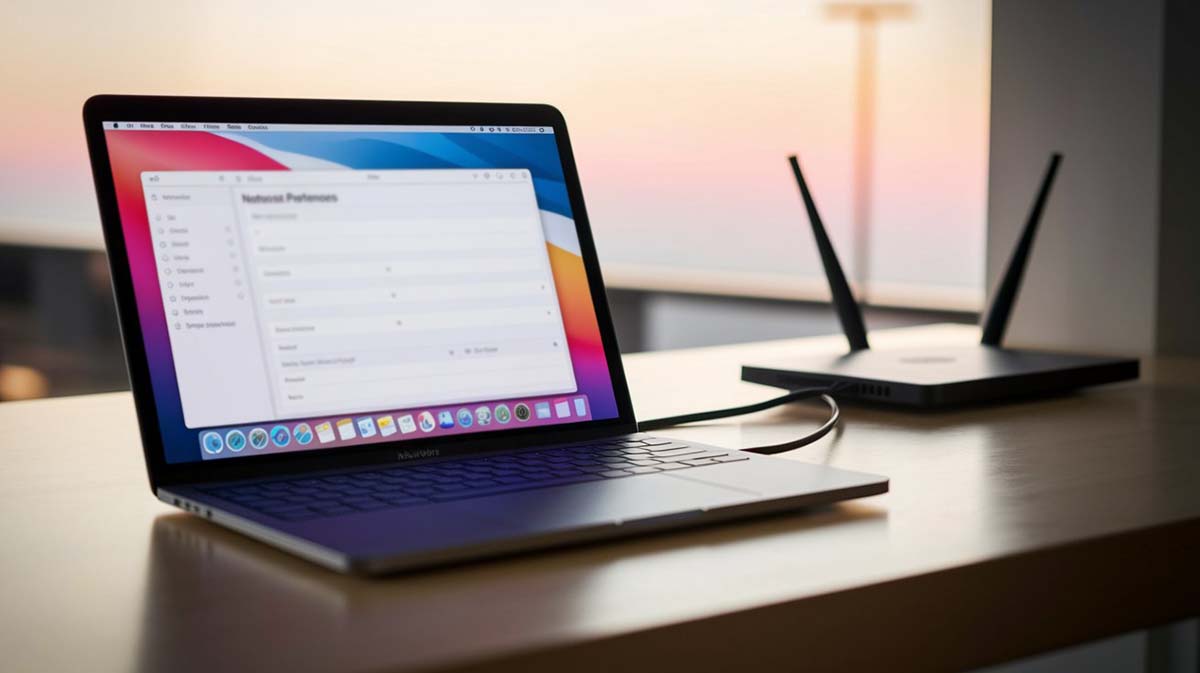
Plug in for Consistency: Ethernet Setup
Wi-Fi is convenient, but Ethernet is more reliable. If your Mac is close to the router, take advantage of wired internet:
- Use a gigabit cable and a USB-C adapter if your Mac needs one.
- Open System Settings, go to Network, and select Ethernet.
- Choose “Using DHCP” unless you’ve been assigned a static IP.
This is the best option for those in high-traffic apartments or for anyone who needs full-speed access, especially during uploads, backups, or live events.
Take Advantage of Advanced Options
Change Your DNS for Better Speed
Some websites load slowly not because of your internet speed, but due to how domain names are resolved. This is where DNS (Domain Name System) settings help.
Steps to update:
- Under your active connection, click Details then DNS.
- Add new DNS servers like
1.1.1.1or8.8.8.8. - Remove old entries if needed.
Many users in regions like South America or Southeast Asia report noticeably faster performance after changing DNS settings. This helps shorten the distance between your Mac and content servers.
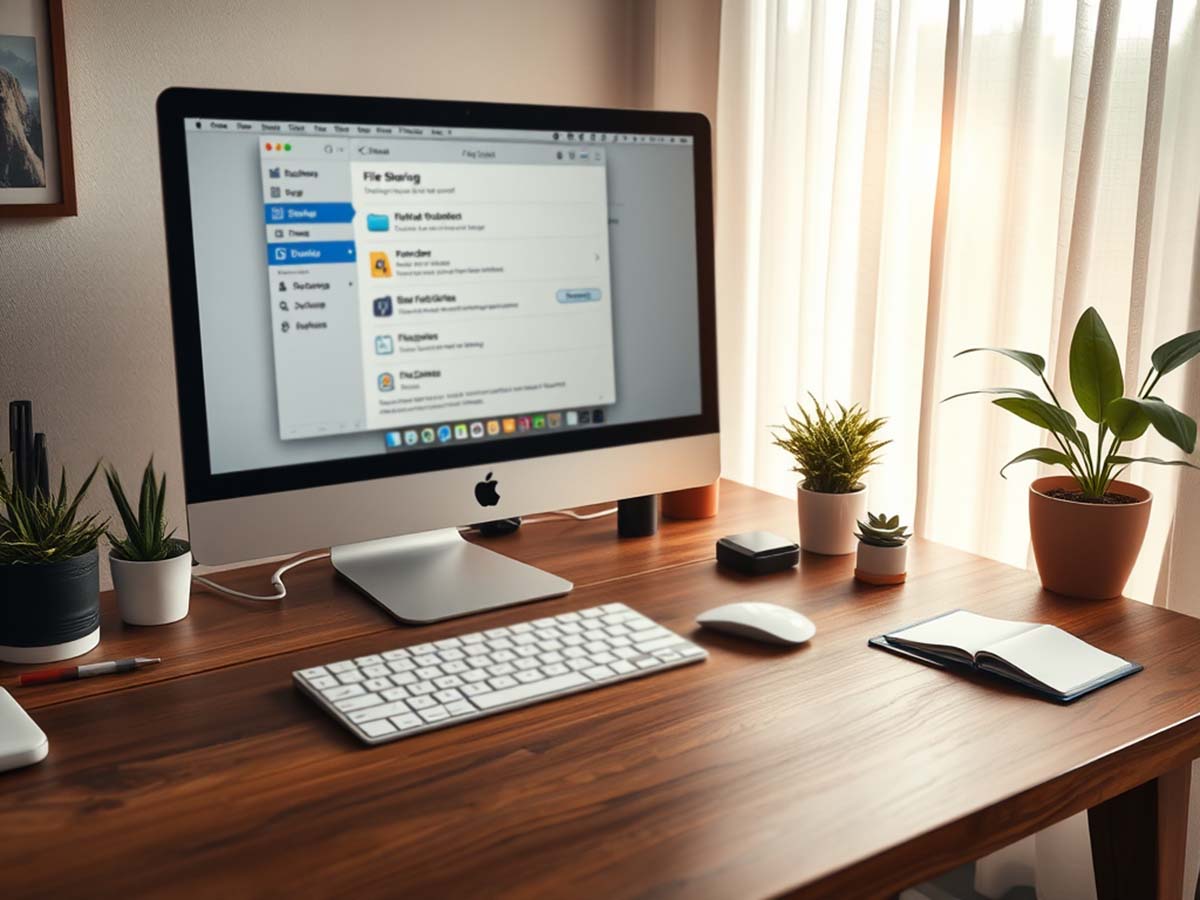
Enable Proxy Settings When Necessary
Some companies use proxy servers to manage how data travels. These servers can filter traffic, enforce access rules, or provide additional privacy when needed.
To enable:
In the Network settings, under Details, go to the Proxies tab.
Input the server address and port given by your IT department.
Proxies also help if you’re working in places where certain websites are restricted or slow to load.
Best Practices for Stronger Connections
Following a few habits can improve performance and keep your network secure:
- Keep macOS updated. System patches often include Wi-Fi and network fixes.
- Place your router in a central location to ensure even signal coverage.
- Don’t forget to change your router’s default login password.
- Use the 5 GHz band instead of 2.4 GHz to avoid overcrowding, especially in apartment buildings.
These steps might seem simple, but they go a long way in keeping your online sessions smooth.
Other Settings You Should Know
Let’s break down a few more tools and steps you can use to ensure better connectivity:
Wi-Fi Recommendations: Your Mac can offer suggestions when it detects issues. Just click the Wi-Fi icon while holding the Option key.
Network Diagnostics Tool: Found in the Utilities folder, this tool can pinpoint weak signals or interference.
Custom Location Profiles: Create different profiles under the Network settings for home, office, or shared spaces.
Using these tools saves time when you troubleshoot or switch environments often.
Simple Troubleshooting You Can Do Yourself
Wi-Fi Cuts Out? Try This
- Turn on Airplane Mode.
- Wait about ten seconds.
- Turn it off and reconnect.
This quick move often solves connectivity glitches when your Mac switches between routers.
Ethernet Issues?
- Check that the cable is plugged in securely.
- Make sure the port’s LED light is on.
- Try a different cable or port if nothing works.
These checks are easy to miss but often solve stubborn problems in seconds.
Evening Slowdowns?
Peak hours often strain home networks. You’re likely sharing bandwidth with multiple devices streaming video or gaming.
- Access your router settings via its IP address.
- Activate Quality of Service (QoS) settings.
- Prioritize your Mac to get better speed during critical tasks.
This feature helps ensure your connection isn’t affected by others in your household.
Global Security Standards and Why They Matter
Countries have their own ways of enforcing digital security. In Europe, penalties for data leaks are steep. In the U.S., identity theft is a growing issue. In Asia, targeted phishing attacks are common.
Here are safety tips you should follow:
- Turn on your Firewall under System Settings → Security & Privacy.
- Use a VPN if you’re in hotels, airports, or any public Wi-Fi area.
- Avoid saving login credentials in browsers unless encrypted.
These habits help shield your data wherever you work from.
Tools That Track Performance
Want to know how fast your internet really is?
Download free network monitoring widgets from the Mac App Store.
Use the built-in Network Quality tool in macOS Ventura and newer. Open Terminal and type:
nginxCopyEditnetworkQuality
You’ll get real-time details on download speed, upload speed, and connection responsiveness. This tool can tell you if your provider’s speed matches what you’re paying for.
Bringing It All Together
A well-tuned network setup can boost productivity, reduce stress, and give you peace of mind. The time you invest in reviewing your Mac’s settings today will save you hours of frustration later. Whether you’re joining a high-stakes conference call or just trying to stream a video, having the right setup ensures you’re never left hanging.