Apple Event Recap for Mac Users
Apple Event 2025: Key Announcements Every Mac User Should Know
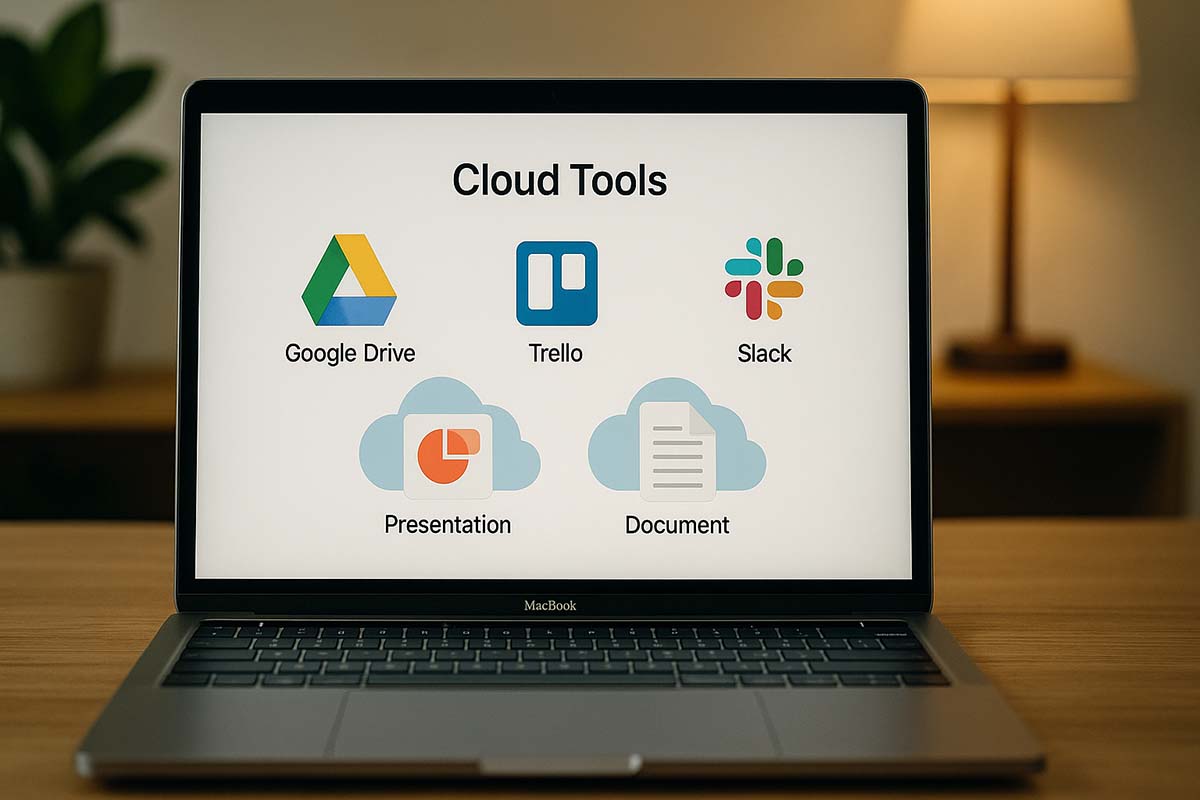
Whether you’re editing videos, managing cloud files, or building applications, Apple’s latest announcements for March 2025 have made waves among Mac users worldwide. This year’s update reveals major enhancements in hardware, software, and AI-driven features—all set to influence how individuals work, study, and create. Here’s a complete breakdown of the highlights from the March event and what’s expected in the upcoming WWDC 2025.
- MacBook Air M4: Faster 10-core CPU, 18-hour battery life, and a new Sky Blue color
- Mac Studio 2025: Options for M4 Max or M3 Ultra chips, Thunderbolt 5 support, and quieter thermal performance
- macOS 26 “Tahoe” + Apple Intelligence: Updated “Solarium” UI, improved Shortcuts, and built-in Live Translation
- WWDC 2025: Set for June 9, with a keynote covering macOS 26, iOS 26, and expanded AI tools
MacBook Air M4 — Lightweight Power for Daily Productivity
On March 5, Apple revealed the new MacBook Air featuring the powerful M4 chip. With a 10-core CPU and up to 32 GB of memory, this laptop supports two external 6K displays and boasts an 18-hour battery—ideal for content creators, remote workers, and students on the go.
The updated 12 MP Center Stage camera ensures clarity during video calls, even while moving. The Air also retains Wi-Fi 6E, MagSafe 3 charging, and a sustainable design using 50% recycled materials. Starting at $999 for the 13-inch and $1,199 for the 15-inch, it offers excellent value for those upgrading from older Intel Macs or M1 versions.
Mac Studio 2025 — Compact Yet Capable for Demanding Projects
Launched alongside the Air, the latest Mac Studio arrives with two chip choices: M4 Max and M3 Ultra. Designed for professionals handling AI tasks, VFX rendering, and large-scale productions, it delivers top-tier performance in a desktop form.
With Thunderbolt 5 ports, multiple 8K video outputs, and a refined cooling system, it operates quietly—a major advantage for audio engineers and developers. Pricing starts at $1,999, and although this isn’t entry-level, it suits studios requiring fast 3D rendering or audio mixing without lag or delays.
macOS 26 “Tahoe” and Smarter Tools With Apple Intelligence
Apple is expected to unveil macOS 26 at WWDC 2025. Nicknamed “Tahoe,” it adopts a refreshed “Solarium” UI with frosted-glass visuals inspired by visionOS. Among the features are enhanced Shortcuts, markdown export in Notes, a new standalone Games app for macOS, and improved Live Translation in Messages.
The shift towards AI continues. macOS now allows users to build Shortcuts by simply typing what they want. No coding is required—just plain language. This could dramatically speed up tasks like scheduling across time zones or organizing shared photo libraries.
Pricing and Global Release Schedule
Below is a pricing chart for North America, Europe, and Asia-Pacific markets:
| Product | Model | Price | Pre-Order | Release |
|---|---|---|---|---|
| MacBook Air M4 | 13-inch | $999 | Mar 5 | Mar 12 |
| MacBook Air M4 | 15-inch | $1,199 | Mar 5 | Mar 12 |
| Mac Studio 2025 | M4 Max | $1,999 | Mar 5 | Mar 12 |
| Mac Studio 2025 | M3 Ultra | $3,999* | Mar 5 | Mar 12 |
*The price of the M3 Ultra model depends on memory and storage configuration.
How Different Users Benefit
For Content Creators
The improved processing power results in faster rendering. Editors and animators can complete long-form projects with less waiting time, boosting productivity.
For Business Professionals
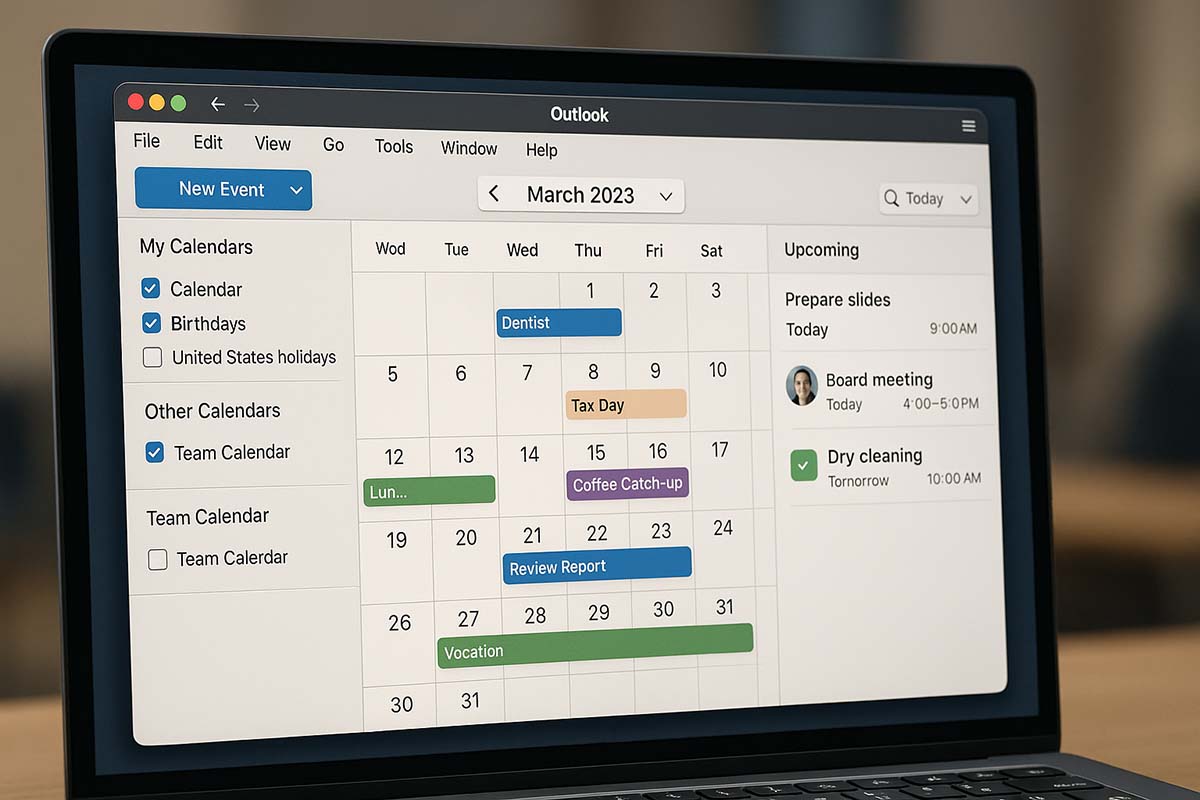
With built-in automation tools, macOS reduces time spent on repetitive tasks. Generating reports, managing calendars, and drafting responses are easier, allowing teams to focus on strategic priorities.
For Educators and Students
The new Notes export feature helps streamline class materials and group projects. It simplifies formatting and sharing, especially during presentations or collaborative work.
For Desktop Gamers
The dedicated macOS Games app organizes titles more effectively, with smoother updates and streamlined access to the entire Apple Arcade library.
Key Considerations Before You Upgrade
If you’re moving from an Intel-based Mac, check compatibility with accessories like external GPU enclosures. These are no longer supported under Apple Silicon. Those with an M3 Air may not see a significant leap unless they often push RAM or GPU limits.
For professionals renting Mac Studio setups, it’s wise to include minimum system specs in agreements to ensure consistency in workflows.
macOS Integration Across Devices
With M4-powered iPads already on the market, the MacBook Air brings uniformity across Apple platforms. Developers building for iOS, iPadOS, and macOS can now move features across systems more easily, thanks to standardized APIs and shared SoC architecture.
Enterprises can manage their device fleets more smoothly due to aligned firmware and security baselines. This simplifies updates and IT maintenance in larger environments.
Opportunities for Independent Developers
Apple is inviting developers to experiment with on-device AI integration during WWDC 2025. This includes features such as local text parsing or custom voice commands, all handled on the machine itself—perfect for regions where cloud-based processing isn’t ideal.
Privacy-focused apps stand to benefit the most. If your product revolves around personal productivity, these tools can add meaningful automation without risking user data.
Security Practices to Keep in Mind
AI introduces new privacy concerns, but Apple claims that all personal data processed by Apple Intelligence remains on-device. For teams operating under strict compliance requirements like ISO 27001 or SOC 2, double-check that device enrollment and MDM profiles are up to date before deploying macOS 26.
Avoid using uncertified USB-C dongles. Thunderbolt 5 introduces different power profiles, and incompatible accessories may cause issues in regulated environments.
What May Be Coming Later This Year
While new hardware isn’t expected during WWDC, rumors suggest a larger 32-inch iMac Pro with an M4 Max chip could appear in the second half of 2025. There’s also speculation about lightweight AR smart glasses that pair with the Vision Pro, but details remain scarce.
If these reports hold true, Apple’s platform could stretch even further—merging desktop computing with new levels of immersive technology.
What This Means for Mac Users
Apple’s March 2025 announcements show a unified strategy. Lightweight notebooks are more capable than ever, pro-level desktops are more silent and powerful, and automation is now woven into the daily user experience. For anyone building, creating, or managing digital work, these updates could signal the right time to invest in a smarter and more cohesive Apple setup.