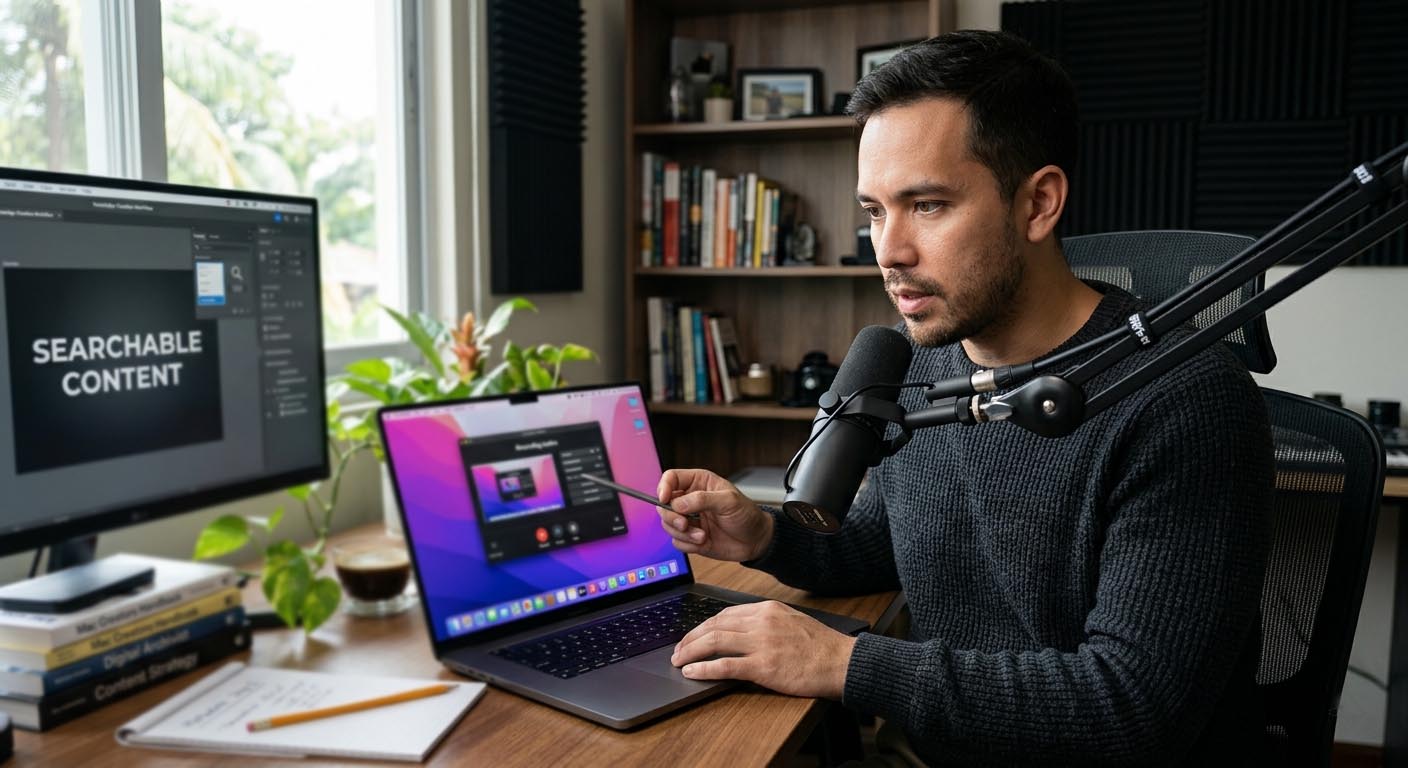
How Mac Creators Can Convert Video Recordings Into Text
Mac creators record videos every day. Tutorials, interviews, product demos, lectures, and livestream replays often begin as video files before they evolve into blog posts, captions, or searchable knowledge resources. A single recording can hold hours of spoken insights, yet that information remains difficult to navigate when it stays locked inside a video timeline. Turning those recordings into written transcripts changes everything. Words become searchable, editable, and reusable across multiple platforms.
For creators using macOS, the process of converting recordings into written form has become remarkably efficient. Tools designed for audio and video transcription can extract spoken dialogue directly from media files. A fast tool that can convert speech to text allows creators to upload a recording and receive a complete transcript within minutes. The result can be edited, repurposed for subtitles, or turned into articles that extend the lifespan of the original content.
Quick Summary
- Mac creators can convert video recordings into text using automated transcription tools.
- Text transcripts make video content searchable and easier to repurpose.
- Subtitles improve accessibility and viewer engagement.
- Written transcripts help creators turn recordings into articles, guides, and documentation.
- Mac workflows benefit from combining transcription tools with editing software.
Why Video Transcripts Matter for Mac Creators
Video production on macOS often involves several stages. Recording happens first. Editing comes next. After that, the content moves into distribution through YouTube, podcasts, courses, or blog articles. A transcript bridges these stages by turning spoken content into structured text that can be edited, indexed, and expanded.
Transcripts make editing easier. Creators can skim through written dialogue to locate important moments quickly. Instead of scrubbing through hours of footage, they can search for keywords in the transcript and jump directly to the relevant timestamp in their editing timeline. This approach saves time and helps editors work more efficiently during production.
Written transcripts also help creators transform their recordings into other forms of content. A tutorial recorded on screen can easily become a detailed written guide. Interviews can be adapted into articles or newsletters. A lecture recording can evolve into a structured blog post. For creators producing multiple types of content, transcripts become the foundation of an entire publishing workflow.
Typical Recording Sources on macOS
Mac users create recordings in many ways. Screen capture tools built into macOS allow creators to record tutorials or demonstrations. Video editing software such as Final Cut Pro produces exported recordings after editing. Meeting platforms generate recordings of conversations and presentations. Each of these recordings can be turned into text with the right workflow.
Creators who already use professional editing tools often begin their workflow with content created in applications discussed in Final Cut Pro workflows. Once the editing process is complete, the exported video file becomes the perfect candidate for transcription. Converting that file into text helps creators prepare captions, summaries, and additional content.
Several common recording sources include the following:
- Screen recordings of tutorials or software demonstrations
- Video podcasts or interviews recorded with cameras
- Online meeting recordings captured from collaboration platforms
- Educational lectures recorded for courses or training
- Livestream sessions saved for replay
Turning Video Dialogue Into Written Content
Once a recording exists, the next step is extracting the spoken dialogue. Automated transcription systems analyze the audio track in a video file. Machine learning models identify words, punctuation, and sentence structures. The final result appears as a clean text document containing the entire conversation.
For Mac creators who manage large video libraries, this process can transform content management completely. Instead of storing hundreds of video files without searchable metadata, creators gain written documentation of everything spoken within each recording. This turns video archives into searchable knowledge libraries.
Modern transcription tools also support many video formats. Creators can upload MP4, MOV, or other recording formats directly. The transcription engine extracts the speech from the audio channel, then converts that audio into structured written text. The process usually finishes within minutes depending on video length.
How Transcripts Improve Video Accessibility
Accessibility plays an important role in digital publishing. Many viewers rely on subtitles to understand video content. Some viewers watch videos in quiet environments. Others may have hearing impairments that require captions to follow the conversation. Transcripts and subtitles make video content usable for a wider audience.
Subtitle files generated from transcripts can be added to videos easily. Platforms such as YouTube and other hosting services support caption formats like SRT or WebVTT. Once captions are attached, viewers can read along while watching the video.
Accessibility standards promoted by organizations such as the W3C accessibility guidelines highlight the importance of captions and transcripts for multimedia content. Following these practices helps creators reach audiences that may otherwise struggle to access spoken material.
Step by Step Workflow for Mac Creators
Turning a video recording into written text usually follows a straightforward process. Mac creators can integrate this workflow into their existing editing pipeline without major changes. The following steps outline a practical approach.
1.
Record the video or screen demonstration using macOS recording tools or external cameras.
2.
Edit the recording in video editing software to remove mistakes and prepare the final version.
3.
Export the edited file in a common format such as MP4 or MOV.
4.
Upload the video file to a transcription platform that converts spoken dialogue into written text.
5.
Review the generated transcript, correct any small errors, and format the text for publishing.
6.
Use the transcript to create subtitles, articles, documentation, or training materials.
Using Transcripts to Create Additional Content
A transcript is far more than a written record of a conversation. It becomes raw material for creating entirely new content. Mac creators who produce tutorials or educational material often rely on transcripts to expand their reach across multiple platforms.
For example, a ten minute tutorial video may contain thousands of spoken words. That dialogue can easily become a blog article explaining the same topic. Sections of the transcript can also be reused as social media captions, email newsletters, or documentation guides.
Creators who manage video libraries on macOS often benefit from pairing transcription workflows with organizational practices similar to those used for organizing social media videos. Once transcripts exist, both videos and written material can be indexed together, making content easier to manage across large archives.
Practical Benefits of Converting Video to Text
Converting recordings into text produces several long term advantages for creators. Each benefit supports a different aspect of the creative workflow.
| Benefit | How It Helps Creators |
|---|---|
| Searchable archives | Creators can search transcripts to locate specific topics quickly. |
| Faster editing | Editors identify key moments in the transcript before returning to the timeline. |
| Content repurposing | Video dialogue becomes articles, guides, and educational material. |
| Accessibility | Subtitles allow more viewers to follow video content. |
| SEO opportunities | Search engines can index written transcripts more easily than video. |
Tips for Improving Transcript Accuracy
Automated transcription has become highly accurate, yet small improvements in recording quality can make transcripts even better. Mac creators can take simple steps during recording to ensure clear speech recognition.
One helpful practice is recording audio with a dedicated microphone rather than relying on built in laptop microphones. Clear audio signals help transcription engines recognize words more accurately. Background noise should also be minimized whenever possible.
Another helpful step is speaking clearly and maintaining consistent pacing. Rapid speech or overlapping dialogue can confuse automated transcription systems. Structured speaking helps both human listeners and transcription algorithms interpret the conversation correctly.
Finally, creators should always review the transcript after it is generated. Small corrections improve readability and ensure the final text matches the original message. Once edited, the transcript becomes a reliable written version of the video content.
Building a Smarter Publishing Workflow on macOS
Mac creators often work with a combination of video editing software, cloud storage platforms, and publishing tools. Integrating transcription into this workflow creates a powerful production pipeline. Each recording automatically generates written material that can be reused across multiple platforms.
A video tutorial may begin as a recording on a Mac. After editing and exporting the final version, transcription converts the dialogue into written form. That transcript then becomes the foundation for subtitles, blog posts, documentation, or marketing copy. One recording now supports many forms of content distribution.
Creators who adopt this approach gradually build a searchable knowledge archive. Years of recorded content become accessible through written transcripts. Instead of relying on memory to locate useful information, creators can search their transcript library and instantly find relevant insights.
Transforming Mac Recordings Into Searchable Knowledge
Video recordings contain enormous value. Every tutorial, lecture, or discussion captures ideas that deserve to be reused and preserved. Converting those recordings into text ensures that valuable insights remain accessible long after the original video was published.
Mac creators who incorporate transcription into their workflow gain a major advantage. They transform their recordings into searchable documentation, accessible subtitles, and reusable written material. Each recording becomes more than a single piece of content. It becomes a resource that can be shared, edited, and expanded in countless ways.
By turning spoken dialogue into text, Mac creators unlock the full potential of their recordings and build a content library that continues delivering value long after the camera stops recording.